The Making of LP Strength Bumper Plates
There’s something special about seeing your vision come to life. As someone who has been passionate about strength training for years, visiting our manufacturing site for our LP Strength bumper plates was an incredible experience. Witnessing the step-by-step process behind these plates reinforced my commitment to delivering only the highest quality products to lifters like you.
Here’s a glimpse of what we experience during the manufacturing process:
Step 1: From Raw Rubber to a Workable Base
The journey begins with raw rubber, which is transformed into a pliable paste ready for the modling machine. This isn’t just a mechanical process—it’s where science meets craftsmanship. The elasticity of the rubber is tested at this stage to ensure it meets our rigorous standards. Watching the stress test in action reminded me how essential this step is for creating plates that are both durable and reliable, even under heavy use.
Step 2: Shaping the Discs
Next, the rubber paste is cut into discs,. These discs of raw rubber together with an outer layer of virgin rubber to add durability and a clean finish, enter a molding machine, where the magic happens. Under immense pressure, the rubber is shaped into plates of varying thickness, depending on the weight class. At this step, the molding processes also allow to relief-print our logo onto the plates. This is really where our plates come to life. It’s more than branding; it’s a symbol of the hard work and attention to detail that goes into every product we create.

Step 3: Inserting the Core and Adding the Color Touch
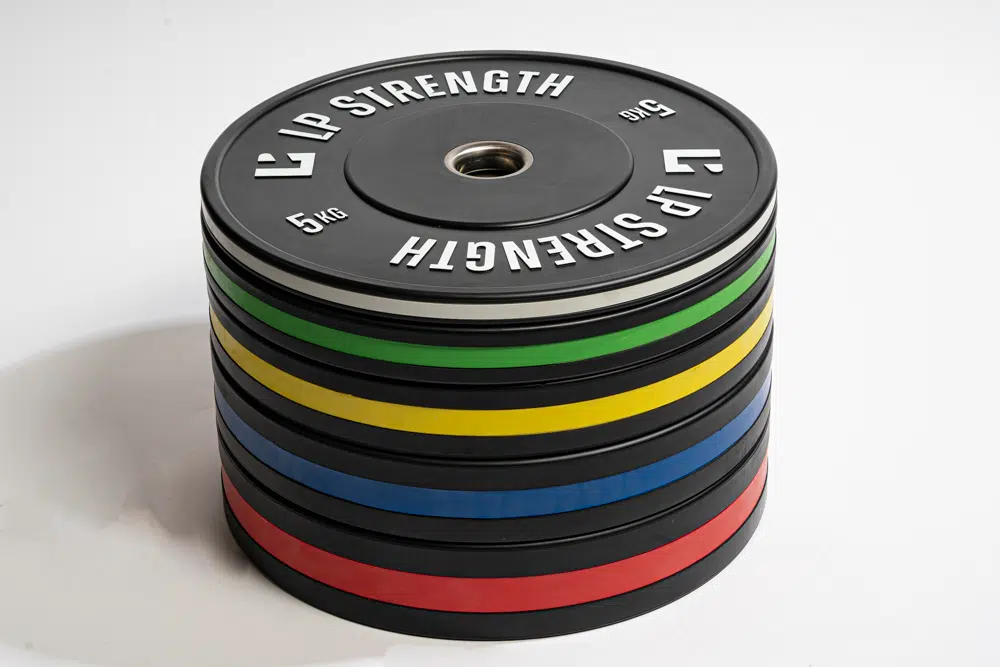
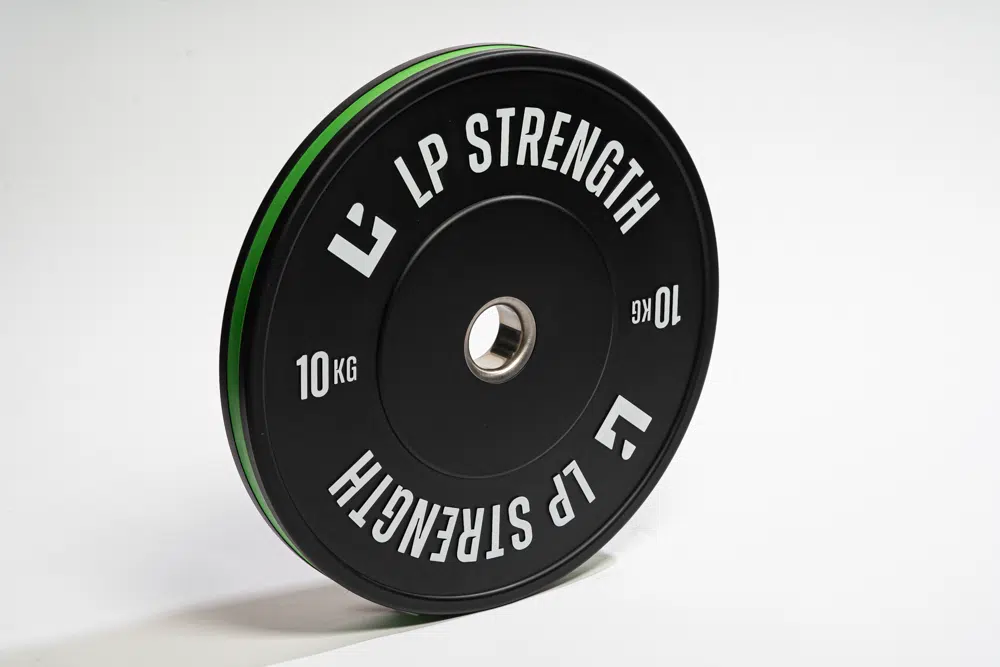
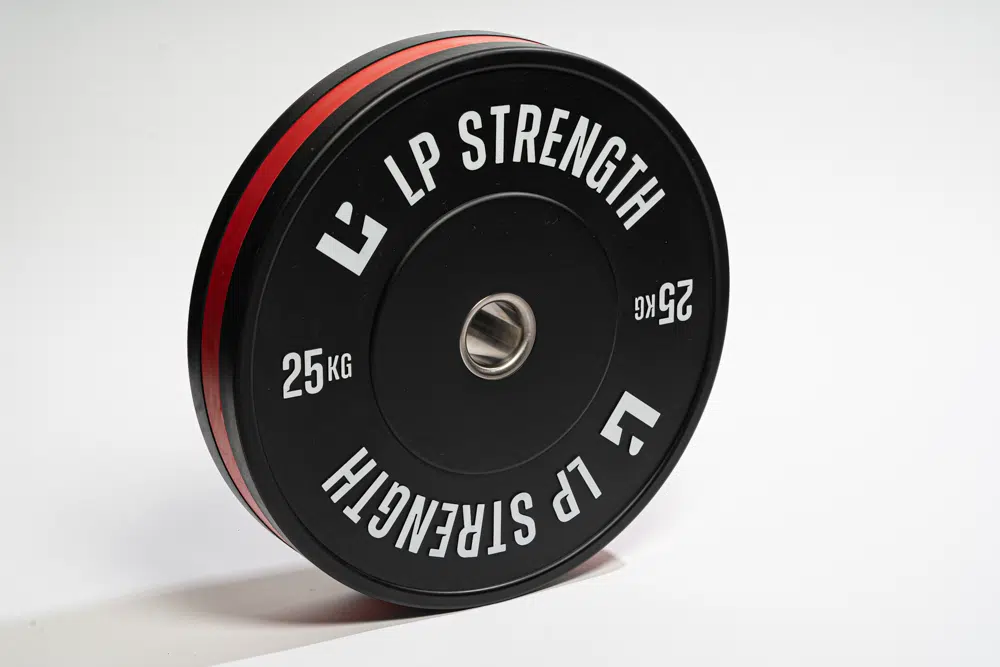
Once molded, each plate receives its stainless steel core—the component that ensures seamless loading and unloading on a barbell. This is also when we add the distinctive color rubber ribbon to the plate’s outer edge, making weight identification effortless.
I was impressed by how precise this step is. The core must fit perfectly, and the ribbon needs to align seamlessly. It’s a testament to the meticulous work of the production team.
Step 4: The Finishing Touches
After molding, any excess rubber is trimmed to leave a smooth, clean finish. Then comes the application of our logo print on the 3D lettering. Every plate is weighed and inspected to ensure it meets our tight tolerances for weight and diameter.
The process runs in batches, starting with the lighter 5 kg plates and progressing to the 25 kg plates. Each batch requires specific machine settings and testing protocols, a detail that underscored for me the precision involved in this production process.

What this means for you
Walking through the production process was a powerful reminder of the commitment and craftsmanship behind every bumper plate. From raw material to the final product, every step is designed to ensure you receive a plate that’s accurate, durable, and worthy of your strength training goals.
As a lifter myself, I know how much trust we place in our equipment. Our manufacturing standard confirms that when you train with LP Strength plates, you’re investing in a product built to perform as hard as you do for a long time.
Stay strong, and train with confidence !
Patrick